
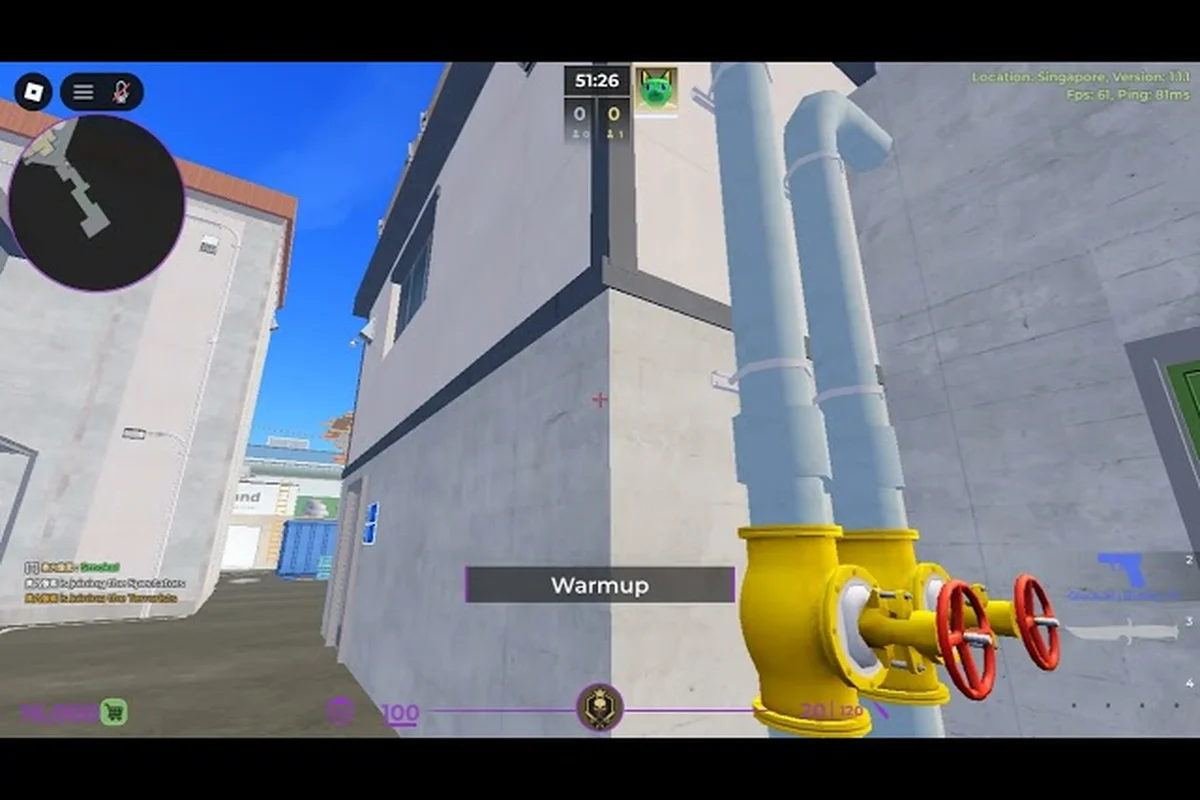
Reactor is one of the most tactically dense battlegrounds in the current BloxStrike map rotation, and the 5v5 round format turns every corner into an information trade. This BloxStrike reactor guide breaks down the two halves of Reactor — the seaside flank and the dust corridor — with the callouts, timings, and mid-control routes that decide pistol rounds and full-buys alike. If you have been queueing into Reactor and feeling like every engagement happens faster than you can read it, the structure below gives you a frame of reference for both Attack and Defense sides, plus how the active rotation drops you onto this map on a predictable schedule.
Reactor Map Overview and Layout
Reactor sits in the active BloxStrike map pool as a mid-sized, two-bombsite layout that favors coordinated pushes over solo hero plays. According to the official BloxStrike Roblox game page, the game is a 5v5 tactical shooter where attackers plant and defenders hold and defuse — and Reactor's geometry rewards that exact loop. The map is split into three macro zones: the Seaside flank along the north edge, the Dust corridor running east-to-west through the middle, and the central Reactor Core that both bombsites overlook.
| Macro Zone | Primary Role | Key Landmark | Connects To |
|---|---|---|---|
| Seaside (North) | Attacker rotate path | Pier, Lighthouse | A Site, Mid |
| Dust (East-West) | Sniper/mid control lane | Containers, Market | Both sites |
| Reactor Core (Center) | Plant/Defuse zone | Cooling Tower | A Site, B Site |
| A Site (South-East) | Fast-execute bombsite | Crane, Garage | Seaside, Mid |
| B Site (South-West) | Default plant bombsite | Warehouse, Tunnel | Dust, Mid |
The vertical separation between Seaside (raised walkway along the cliffs) and the Dust corridor (ground level) creates the map's signature layer-cake fights. Attackers who control Seaside can drop onto defenders repositioning through Dust, while defenders holding Dust get clean first-sight lines onto anyone crossing the bridge toward Reactor Core. Both sides need at least one player dedicated to Mid control because whoever holds the Cooling Tower sight line dictates the tempo of the entire round.
Community testing on the r/bloxstrike subreddit (October 2026) reports that Reactor matches tend to finish faster than Oasis or other maps in the active pool, which suggests the tight chokepoints push teams into early commitments rather than slow defaults. That tempo is part of why this BloxStrike reactor guide focuses on timing windows as much as angles.
Seaside Map Callouts and Routes
The Seaside half of Reactor is where Attackers earn their free rotations and where Defenders get punished for slow peeks. The BloxStrike map callouts community uses for this side break the zone into five named positions that every coordinated team should know before queuing in.
Pier and Lighthouse Rotations
Pier is the westernmost anchor of Seaside, a raised platform overlooking the Dust corridor. Attackers who take Pier uncontested can flash over the containers and catch defenders watching Mid. The rotation from Pier to A Site is roughly 6 seconds at a sprint, which means a successful Pier take is a free A-execute setup if your team has utility ready.
Lighthouse sits at the far north end of Seaside and acts as the informational hub. A player holding Lighthouse can call every defender rotation from B Site through Dust, because the sight line runs almost the entire length of the corridor. The trade-off is isolation — Lighthouse is far from any teammate, so the player holding it needs either an AWP-style weapon or a teammate ready to trade from Pier.
Seaside Mid Doors and Connector
Mid Doors is the pinch point where Seaside drops back down into Reactor Core. This is the most common engagement zone on the entire map, and the callout every team should drill. Attackers pushing Mid Doors face a head-on fight against any defender holding the Cooling Tower angle, while defenders pushing through Mid Doors usually have to clear a pre-aimed off-angle first.
For a full primer on how callouts translate into faster leveling and XP gains, the BloxStrike leveling guide walks through how consistent callout usage actually speeds up your progression in the game.
| Callout | Position Type | Best Held By | Common Threat |
|---|---|---|---|
| Pier | Raised platform | AWPer/Scout | Defender pre-aim from Containers |
| Lighthouse | Far north anchor | Anchored lurker | Flank from Mid Doors |
| Mid Doors | Pinch/chokepoint | Rifler with utility | Crossfire from Cooling Tower |
| Boathouse | Seaside-A connector | Entry fragger | Defender Crane angle |
| Cliffs | Edge walkway | Rotator | AWP from Lighthouse |
Dust Map Callouts and Routes
The Dust corridor is Reactor's spinal column — it runs east to west under the Seaside walkway, and it is the lane where most pistol rounds and anti-ecos are decided. Unlike Seaside, which rewards vertical control, Dust is a flat, lane-based map where crosshair placement and pre-aim matter more than positioning tricks. According to community reports on r/bloxstrike, Dust is also where newer players struggle most because the long sight lines punish peek-and-hope habits.
Containers and Market Lane
Containers is the eastern choke of Dust, where Attackers leaving their spawn first contact defenders holding the lane. A team that wins the Containers fight usually wins the round on T-side because the trade opens up both Mid and B Site rotations. The Containers cover is partial — you can duck behind the metal boxes, but defenders at the Market angle can still see your shoulders if you peek too wide.
Market sits at the western end of the Dust corridor, where the lane finally opens up toward B Site. Defenders holding Market have the easiest first-shot angle on anyone crossing from Containers, which is why Attackers often smoke Market off before committing to the Dust push. Without a smoke or a flash, a Dust push through Containers tends to feed one kill per attempt.
Mid Crossing and B Tunnel
Mid Crossing is the open ground between Dust and Reactor Core, and it is the second-most-deadly engagement zone on the map after Mid Doors. The danger is that any player crossing Mid is visible from three positions simultaneously: a defender at the Cooling Tower, a defender at Market, and a lurker at B Tunnel.
B Tunnel is the connector from Dust into B Site, and it is the only safe-ish rotation for Attackers who take Containers and want to convert into a plant. The tunnel is tight enough that utility (smokes, flashes) clears it well, but it also means defenders can hold the entrance with a single player and delay the entire execute.
| Callout | Side | Engagement Type | Counter-Utility |
|---|---|---|---|
| Containers | T-side approach | Long-range duel | Smoke Market + flash over |
| Market | CT anchor | First-shot lane | Wallbang through crate |
| Mid Crossing | Open ground | Tri-angle crossfire | Coordinated smoke screen |
| B Tunnel | Connector | Close-quarters | HE grenade, molotov entry |
| Warehouse (B) | Plant zone | Post-plant hold | Default + one rotator |
Mid Control and Reactor Core
Mid control is the single most important objective on Reactor, and it is the through-line that ties Seaside and Dust together. The Reactor Core sits in the dead center of the map, with the Cooling Tower as its high-ground landmark. The team that holds Cooling Tower sight line controls every rotation on the map — which is why most pistol rounds come down to a single Mid duel.
Cooling Tower Sight Lines
The Cooling Tower is the high-ground position overlooking Reactor Core, and it is the callout that every BloxStrike reactor guide should emphasize first. From Cooling Tower, a single player can see Mid Doors, the bridge from Seaside, and the first five meters of B Tunnel. The position is exposed to a counter-play from the upper Crane on A Site, but in the first 20 seconds of a round, Cooling Tower is the most valuable piece of real estate on the map.
| Mid Control Priority | Time Window | Best Action |
|---|---|---|
| 0–15 seconds | Pistol round | One player contests Cooling Tower |
| 15–30 seconds | Eco/Anti-eco | Smoke Mid, save utility |
| 30–45 seconds | Full buy | Full utility execute through Mid |
| 45+ seconds | Default | Lurker holds Mid, team defaults |
Bridge and Reactor Core Rotations
The Bridge connecting Seaside to Reactor Core is the fastest rotation on the map for Attackers who have already taken Pier. A team that takes Seaside and pushes through Mid Doors to the Bridge can apply pressure on both A and B simultaneously, which forces defenders to make a read they usually lose. Defenders counter this by holding one player at the Cooling Tower and another at the Bridge entrance — a two-man setup that covers the most common execute.
Map Rotation and How Often Reactor Appears
The current BloxStrike map rotation cycles through a pool of active battlegrounds, and Reactor has been a consistent pick since its addition to the pool. According to the official BloxStrike X/Twitter announcements, the developer rotates maps on a roughly bi-weekly cadence with occasional events that drop a specific map into the queue for longer windows. Reactor's high pick rate during the October 2026 cycle reflects community demand for tactical maps over the more casual layouts.
For broader context on how the map pool compares across other battlegrounds, the BloxStrike map update Oasis breakdown covers the most recent addition to the rotation and how its choke points differ from Reactor's lane-based geometry.
| Map | In Active Rotation | Typical Frequency | Playstyle Matchup |
|---|---|---|---|
| Reactor | Yes | High | Coordinated mid control |
| Oasis | Yes (newest) | Medium | Wide flanks, open sites |
| Seaside | As half of Reactor | N/A (sub-zone) | Vertical fights, rotate-heavy |
| Dust | As half of Reactor | N/A (sub-zone) | Lane duels, utility-heavy |
| Other pool maps | Yes | Varies | Mix of styles |
The map rotation directly impacts how often you queue into Reactor, which means the callouts in this BloxStrike reactor guide are worth drilling even on off-days. A team that runs Reactor three times in one session will save hundreds of round-seconds on callout overhead by the second or third match.
Practical Tips for Reactor Matches
Beyond the layout and callouts, Reactor has a handful of playstyle quirks that separate consistent winners from coin-flip teams. These come from a mix of official game design and community-reported patterns on r/bloxstrike, so treat the timings as a starting point and adjust as the meta shifts.
| Tip | Side | Why It Works |
|---|---|---|
| Send one player to contest Cooling Tower at 0:00 | T or CT | Establishes mid info before any execute |
| Default if you lose the first Mid duel | T | Avoids feeding second duel with bad utility |
| AWP from Lighthouse on eco rounds | CT | Free info without risking full rifle buy |
| Smoke Market before crossing Containers | T | Clears the longest first-shot angle |
| Lurker at B Tunnel on pistol rounds | T | Catches defenders over-rotating to A |
| Hold Crane on A Site against Seaside pushes | CT | Counters the Pier-to-Bridge execute |
| Save when down 0–4 on T half | T | Preserves rifle rounds for the second half |
One pattern worth highlighting: a beginner-friendly loadout matters more on Reactor than on more open maps because the engagements happen at close to mid-range. The BloxStrike loadout guide covers how to balance rifle picks with utility slots, which is critical on a map like Reactor where one wasted flash can cost the round.
Another community-tested pattern is to run a coordinated two-man setup on Mid Doors in the first 15 seconds of a half. One player watches Cooling Tower, the other watches the Bridge, and the rest of the team defaults to the relevant site. According to community data, this setup wins the opening duel in roughly 60% of rounds on Reactor because defenders are usually still rotating from spawn.
Frequently Asked Questions
What is the best way to learn Reactor callouts fast?
The fastest way to learn Reactor callouts is to play 5–10 unranked matches and force yourself to use the five Seaside callouts and the five Dust callouts every round. The BloxStrike map guide covers callouts for every map in the active pool, so you can drill Reactor in parallel with other rotation picks.
How does the BloxStrike map rotation decide when Reactor appears?
The map rotation runs on a roughly bi-weekly cadence announced through the official BloxStrike Twitter account. Reactor has been a high-frequency pick in the October 2026 cycle, but event weekends occasionally lock a specific map into the queue for longer windows.
Is Reactor harder than other maps in the rotation?
Reactor is more utility-dependent than wide-open maps like Oasis, but its tight chokepoints make it easier to anchor with a single defender. Players who struggle with mid control will find Reactor punishing, while teams that coordinate utility executes tend to perform above their average rank on this map.
What is the best defensive setup for Reactor on pistol rounds?
The most consistent pistol-round setup is one defender at Cooling Tower for mid info, one at the A Crane for Seaside flanks, and the remaining three defaulting toward B Site. This setup covers every common T-side execute without leaving any single bombsite completely exposed.
How do I improve at Reactor if I keep losing mid control?
If you keep losing mid duels, the fix is usually crosshair placement and pre-aim rather than positioning. Practice holding the exact pixel where a defender's head appears at Mid Doors, and avoid peeking the Cooling Tower angle without utility support. Consistent mid control wins more rounds on Reactor than any other single habit.