
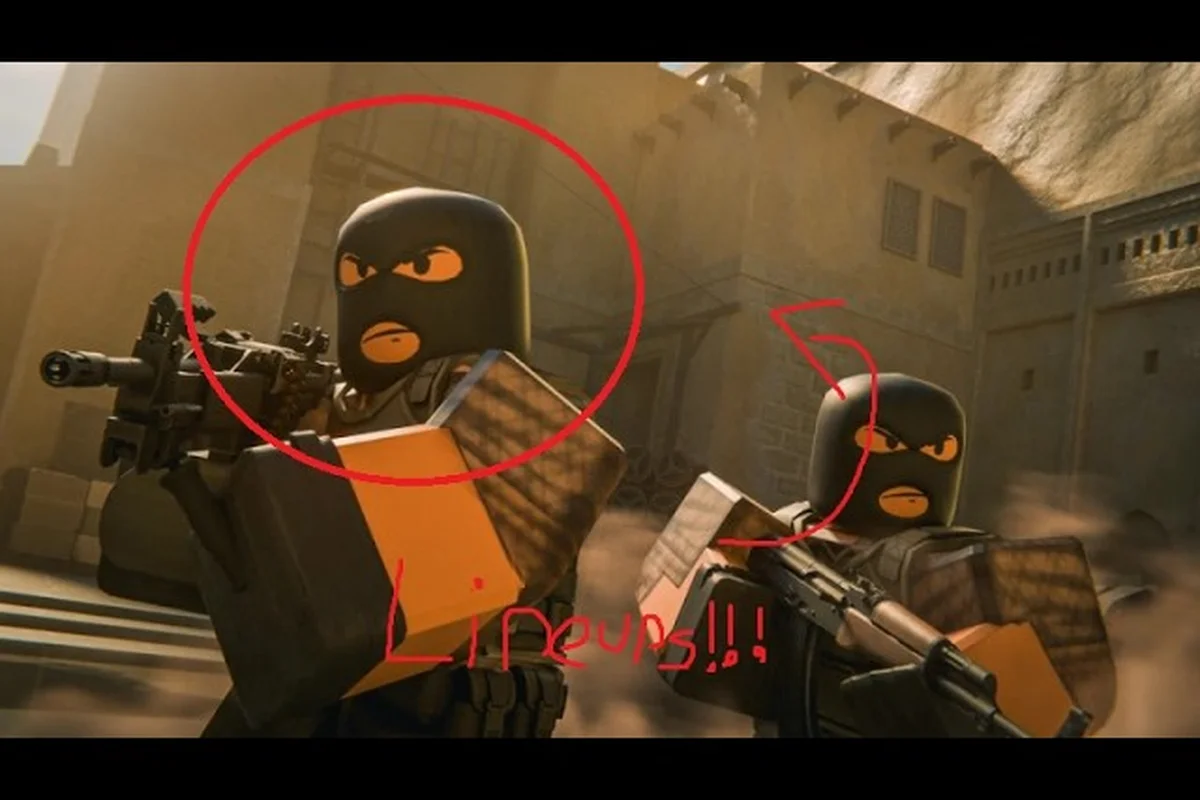
Utility items in BloxStrike are the single biggest separator between a five-round loss streak and a comfortable match win, yet most players still treat grenades as an afterthought they only use when the buy menu leaves spare cash. This BloxStrike utility usage guide rewires that habit by walking through every smoke, flash, and molotov in the game, then layering in the binds and pop executes that turn those grenades into round-winning pressure. Whether you queue solo or stack with a duo, the walkthrough below covers the lineups, timings, and strategies that push your team from reacting to enemies to dictating the pace of every engagement.
BloxStrike Utility Tier List and Round-Phase Value
Before diving into individual grenade lineups, it helps to understand the economy and value structure behind utility in BloxStrike. Utility costs round cash just like rifles and armor, and according to the official game page the round economy rewards players who invest early in grenades, then convert that investment into map control. The table below ranks every utility slot by typical community-reported impact at each Elo bracket.
| Utility Slot | Best Use Phase | Impact (Low Elo) | Impact (Mid Elo) | Impact (High Elo) |
|---|---|---|---|---|
| Smoke Grenade | Execute / Retake | High | Very High | Very High |
| Flashbang | Entry / Pop-flash | Medium | High | Very High |
| Molotov | Post-plant / Area deny | Medium | High | High |
| Decoy | Info / Fake rotate | Low | Medium | Medium |
| HE Grenade | Anti-eco / Stack punish | High | High | Medium |
Smokes and flashes scale with team coordination, which is why both climb to Very High in mid and high Elo. Molotovs and HE grenades flatten out at high Elo because opponents learn to dodge splash damage. Decoys sit at the bottom of the table for solo players but spike in coordinated five-stacks that want to bait a rotation.
Players who want a deeper breakdown of the grenade family can check the BloxStrike smoke guide for one-way lineups and molotov wall denies, since that article zooms in on the smoke and molotov slots covered here at a higher level. The cross-link keeps the grenade progression intact without duplicating lineup data.
Buy-Phase Math: When to Skip Utility
Saving cash for rifles is tempting, but skipping utility on pistol rounds is the easiest way to lose a winnable game. The community-recommended split below keeps a competent loadout while leaving room for at least one utility item per player.
| Round Type | Suggested Loadout | Utility Budget | Notes |
|---|---|---|---|
| Pistol (Round 1) | Armor + Pistol | $300 for one flash | Flash is non-negotiable on attack |
| Anti-Eco (Rounds 2-3) | SMG + Light armor | $400 for smoke + flash | Skip molotov, buy for the team |
| Full Buy | Rifle + Full armor | $700+ for two utilities | Stack smoke + flash on executes |
| Save Round | Pistol only | $0 | Communicate next-round utility plan |
Community data on r/bloxstrike consistently shows teams that buy at least one utility item per player in rounds 2-5 win those rounds at a noticeably higher rate than pure-rifle full buys. Treat utility as a slot, not a luxury, and the round economy starts to snowball in your favor.
Pop-Flash Lineups, Pop-Executes, and Flash Strategies
Flashes are the cheapest entry tool in the game, but only if you throw them so they pop behind cover instead of midair. A pop-flash is a grenade that detonates the instant it crests a wall or corner, blinding everyone on the opposite side for roughly two seconds. The window is short, but it is enough to swing a 5v5 entry into a clean trade.
Core Pop-Flash Bind Setup
BloxStrike keybinds let you remap every grenade slot, and the community-tested preset below is the most consistent setup for both PC and controller players. Bind layout matters because most utility mistakes come from fumbling the slot during a smoke execute.
| Slot | Default Key | Recommended Key | Reason |
|---|---|---|---|
| Primary Weapon | 1 | 1 | Keep default for muscle memory |
| Secondary Weapon | 2 | 2 | Keep default for swap timing |
| Knife | 3 | 3 | Keep default for speed boost |
| Smoke | 4 | Z | Thumb-friendly, avoids crosshair drift |
| Flash | G | X | Symmetric with Z, easy to find under stress |
| Molotov | 5 | C | Mirror of X for quick grenade combos |
| Decoy | 6 | 4 | Lower priority, push to outer column |
| HE Grenade | 7 | 5 | Far slot, less likely to misclick |
These binds are the foundation of every bloxstrike keybinds guide shared on community Discords, because they place the four primary utility items under the left hand in a Z-X-C-V pattern that mirrors a QWER strafe. The result is faster swaps, fewer dropped flashes, and cleaner executes.
Pop-Execute on A Site (Generic Map Outline)
The exact coordinates vary per map, but the structure of a pop-execute is identical: smoke the chokepoint, pop-flash the entry corner, and molotov the common plant position. Below is the universal sequence that works on the majority of BloxStrike maps released before the October 2026 update.
| Step | Action | Grenade Used | Timing After Contact |
|---|---|---|---|
| 1 | Smoke entry chokepoint | Smoke | 0.0s (throw on contact) |
| 2 | Pop-flash entry corner | Flash | 0.5s (delayed for peak) |
| 3 | Entry swing with rifle | — | 1.0s (after flash pops) |
| 4 | Molotov default plant spot | Molotov | 2.0s (after plant contest) |
| 5 | Trade-frag the entry duelist | — | 2.5s (follow-up) |
The 0.5-second delay between smoke and flash is the secret ingredient. A flash thrown at the same instant as a smoke will detonate before teammates have crossed the chokepoint, blinding your own entry. Throwing smoke first, then flash 0.5 seconds later, gives your team time to swing the corner and turns the flash into a guaranteed two-second window.
Post-Plant Molotov Lineups and Execute Strategies
Winning the round is not just about getting a plant — it is about denying the retake. Post-plant utility is where utility usage guide strategies start to pay off, because the defending team has limited time and limited angles to work with. A well-placed molotov can shave ten seconds off the retake timer, which is more valuable than a free frag.
Players who want to stay ahead of meta shifts should treat the BloxStrike X account as a primary source of truth, because patch notes posted there document damage values, molotov burn duration, and smoke timer changes that directly affect post-plant execute timing. Cross-referencing those tweets with in-match testing lets you confirm whether a 7-second molotov denial still covers a default retake, or whether a recent buff extended the safe-plant window on maps like Dust and Mirage variants.
Post-Plant Molotov Priority Targets
The instant the planter confirms the bomb has gone down, the entire post-plant framework flips: defenders are now on a clock and must commit to a specific line of sight to even attempt the defuse, which means attackers can predict exactly where utility will do the most work. Reading those forced defender positions before throwing is what separates a post-plant setup from a coin-flip molly; the three highest-value targets on most BloxStrike maps are listed in the table below.
| Priority | Target | Reason | Typical Plant Position |
|---|---|---|---|
| 1 | Default plant spot | Forces defuse from open | Most common plant |
| 2 | Off-angle plant spot | Defenders must clear utility first | Smoke plant |
| 3 | Retake chokepoint | Stops rotating defender | A or B site entry |
The default plant spot is almost always molotoved first because defenders can clear utility but cannot defuse through fire. Drop a molotov on the bomb, then peel off to watch a cross angle while defenders burn utility on the flame. That single molotov can win a round without any additional frags.
If you are still building core fundamentals, the BloxStrike callouts guide is worth bookmarking alongside this one, because post-plant executes rely on tight callouts between the planter and the molotov thrower. Mismatched callouts cause friendly molotovs to land on bomb instead of off-angle, which is a frustrating way to lose a 4v1.
Execute Strategies for Solo Queue
Solo queuing in BloxStrike means you cannot rely on teammates to throw utility for you, so every grenade you buy has to earn its $300-$800 slot independently. The four strategies below are tested in solo queue and assume only one player on the team is buying grenades — rotate which player carries util per half based on their spawn for closest utility reach to the chokepoint, and remember that the lurker pop-flash is the cheapest entry util in the game at $200, making it the most sustainable across a full 12-round half.
| Strategy | Round Type | Grenade Combo | Solo Player Role |
|---|---|---|---|
| Lurker Flash | Anti-eco | Pop-flash entry | Throw flash, let team entry, flank trades |
| One-Man Smoke | Execute | Single smoke chokepoint | Smoke entry, trade the swing duelist |
| Anti-Retake Molotov | Post-plant | Molotov on plant | Hold off-angle after molotov lands |
| HE Stack Punish | Pistol | HE on common stack | Pre-aim the stack, cook HE for 1s |
The lurker flash strategy is the most reliable for solo players because it does not require coordinated timing. Throw the pop-flash from off-angle, let your team swing, then peek the trade. Even on a loss you collect damage and a potential trade frag, which compounds over a half.
Utility Combos, Save Rounds, and Economy Strategies
Utility combos are where BloxStrike strategies move from "throw a grenade" to "script a round." The most common combos in the current meta are HE + Flash (anti-eco stack), Smoke + Molotov (execute denial), and Flash + Decoy (fake rotate). Each combo has a specific use case, a specific round type, and a specific buy order.
Round-by-Round Utility Combos
| Round | Combo | Cost | Purpose | Best Map Phase |
|---|---|---|---|---|
| Pistol | Flash + Smoke | $500 | Entry on T, retake on CT | Early round |
| Anti-Eco | HE + Flash | $550 | Stack punish + blind trade | First 30s |
| Full Buy | Smoke + Flash + Molotov | $1,100 | Full execute with default denial | Mid round |
| Save | Decoy only | $50 | Fake rotate next round | Late round |
| Eco Reset | None | $0 | Save for next buy | Final round before full buy |
The HE + Flash combo is a community favorite on anti-eco rounds because HE grenades deal high damage to grouped players, and the flash covers the trade swing. Throw the HE first, let it cook for roughly one second, then pop the flash on the corner defenders will swing to. Even if the HE does not get a kill, the damage forces enemies to reposition, and the flash punishes the reposition with a free entry.
Players who want to round out the rest of the bloxstrike walkthrough toolkit can browse the BloxStrike movement guide for the peeking mechanics that make these utility combos actually land, because a perfectly thrown flash is wasted if you peek into a pre-aimed angle instead of using jiggle peeks to bait the swing.
Economy Strategies: When to Buy, When to Save
Utility is part of the round economy, and treating it as a buy decision rather than a reflex is what separates consistent players from coin-flip players. The community-tested rules below are paraphrased from r/bloxstrike threads, with adjustments for the October 2026 case rotation patch.
| Bankroll State | Action | Utility Buy | Reasoning |
|---|---|---|---|
| Below $1,500 | Force buy | One flash | Eco loses if you have zero utility |
| $1,500 - $3,500 | Light buy | Smoke only | Save for rifle on round 4 |
| $3,500 - $5,000 | Full buy | Two utility items | Standard execute budget |
| Above $5,000 | Drop utility | Drop smoke for teammate | Excess cash is dead cash |
The "drop utility" line is the rule most players miss. If you are sitting on $5,000+ in a full buy, you are over-saving. Drop a smoke or molotov for the lowest-buying teammate, because the team's total utility matters more than any single player's bankroll. According to community data, teams with four utility items per round win that round at a noticeably higher rate than teams with two utility items per round, even when the average player Elo is identical.
Advanced Utility Tips, Decoy Tricks, and Map Pressure
Once the basics are second nature, the next layer of bloxstrike strategies comes from the grenades most players ignore: decoys and one-way smokes. Decoys fire fake weapon sounds at a target location, which is a free information tool if you use it right, and a wasted $50 if you throw it at nothing.
Decoy Tricks That Actually Work
| Trick | Setup | Result | Best Map Type |
|---|---|---|---|
| Fake A Rotate | Throw decoy on A while team commits B | Defenders rotate A, leaving B open | Two-site maps |
| Fake Defuse | Throw decoy near bomb after death | Teammate hears sound, defenders hesitate | Post-plant |
| Fake Plant | Throw decoy on bomb | Defenders swing early, get picked | Low-buy rounds |
| Bait Utility | Throw decoy at corner | Defenders waste flash/molotov | High-buy rounds |
The fake A rotate is the highest-value decoy trick because it manipulates defender positioning without putting any teammate at risk. A decoy that fires AK shots at the A site sounds exactly like a real player holding an angle, which means defenders are forced to treat it as a real threat and rotate accordingly. The other three tricks are situational but useful in their own rounds.
One-Way Smokes and Map Pressure
One-way smokes are smokes that allow attackers to see defenders but block the defender's view of the attacker. They are map-specific and require precise lineups, but once learned they single-handedly win entire executes. The maps where one-way smokes are most consistent in BloxStrike are listed in the table below, based on community-reported data from the r/bloxstrike subreddit.
| Map | One-Way Smoke Locations | Difficulty | Use Case |
|---|---|---|---|
| Dust II Variant | A Long Doors, B Tunnel | Easy | A execute, B retake |
| Mirage Variant | A Ramp, B Apartments | Medium | A execute, mid control |
| Inferno Variant | Banana, A Site | Hard | Mid control, A site hold |
| Oasis (New Map) | A Default, B Default | Medium | Post-plant denial |
The Oasis one-way smokes are worth a full walkthrough if you main the new map, because they were not in the original launch lineup and most players have not learned the lineups yet. Pair the one-way with a pop-flash on the entry corner, and the defending team is forced to either back off or swing blind, which is a near-guaranteed round win for the team with cleaner utility.
For an even deeper dive into the grenades that did not make the cut above — including HE grenade stack punishes and molotov wall denies — the BloxStrike smoke guide covers the rest of the utility family at a more granular level, including throw strength settings and the per-map lineup coordinates that this guide intentionally keeps general.
Frequently Asked Questions
What is the most important utility in BloxStrike?
The Smoke Grenade is the most important utility because it scales with team coordination and unlocks every execute on every map. A well-placed smoke controls an entire chokepoint for roughly fifteen seconds, which is more value than any other grenade slot. Buy smokes first when budget is tight, then layer flashes and molotovs on top.
How should I bind my grenades for fast swaps?
Use the Z-X-C layout for smoke, flash, and molotov under your movement keys, with decoy and HE on the outer 4 and 5 slots. This keeps every utility item under your left hand without forcing a crosshair drift. The exact bloxstrike keybinds setup above maps every slot, and most pro players run a near-identical layout.
What is a pop-flash and why does it win rounds?
A pop-flash is a flashbang thrown to detonate the instant it crests a wall, blinding everyone on the opposite side without warning. It wins rounds because defenders cannot pre-aim the swing or look away, which gives the entry duelist a guaranteed two-second window to land a headshot. Throw the flash 0.5 seconds after your smoke so teammates are already swinging when it pops.
When should I skip utility and save for rifles?
Save for rifles when your bankroll is below $1,500 and the next round is a full-buy, because a forced rifle is worth more than a forced flash. However, never go below one utility item per round unless the round is an eco reset, since teams with zero utility lose the round at a noticeably higher rate. Treat utility as a buy slot, not a bonus, and the round economy will start to feel predictable in the best way.
Are decoys worth buying in BloxStrike?
Yes, but only in coordinated executes where the decoy manipulates defender positioning. A decoy that fakes an A rotate while your team commits B can win a round without any team utility, which makes the $50 price tag worth it. Solo players should skip decoys and stack smokes instead, because the information value of a decoy without teammates to act on it is wasted.